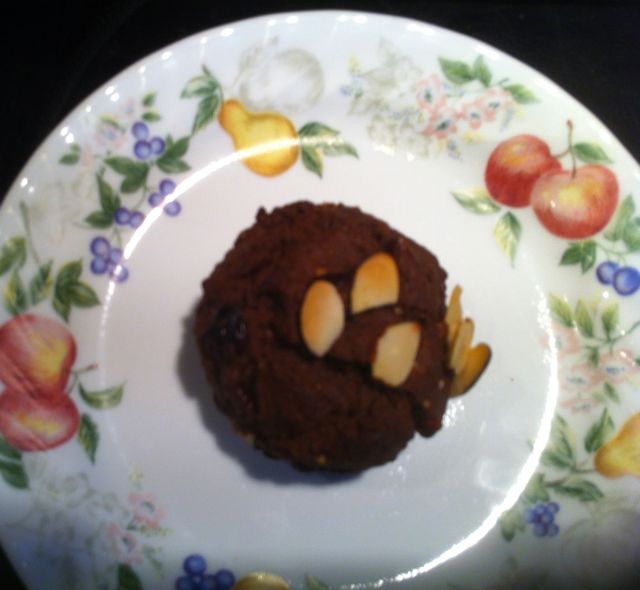
No that’s not an April Fool’s joke. I have taken the liberty of changing Muffin Monday to Macaron Monday this week. I wanted to try a little something different for Easter this year, and with wild abandon and complete innocence I thought macarons were just the thing.
That’s macaron, not macaroon btw. A macaroon, as in coconut macaroon is an entirely different, if equally delicious, thing.
A macaron is…
a meringue-based cookie made with almond flour, egg whites, and granulated and powdered sugar, then filled with buttercream or fruit spread. The delicate treat has a crunchy exterior, and a weightless interior with a soft ending that’s almost nougat like in its chewiness. [Yumsugar.com]
Macarons can be made by the French, Italian or Swiss method. Now, usually I’d make anything the ITALIAN way when given a choice, but considering the fact that the Italian method includes boiling sugar…um… I went with ze French method for my macarons. (If you are interested in how the three methods vary you might want to CLICK HERE for the Macaron Master]
EQUIPMENT:
You’ve probably got all the equipment you need to make French macarons in your kitchen cabinets…
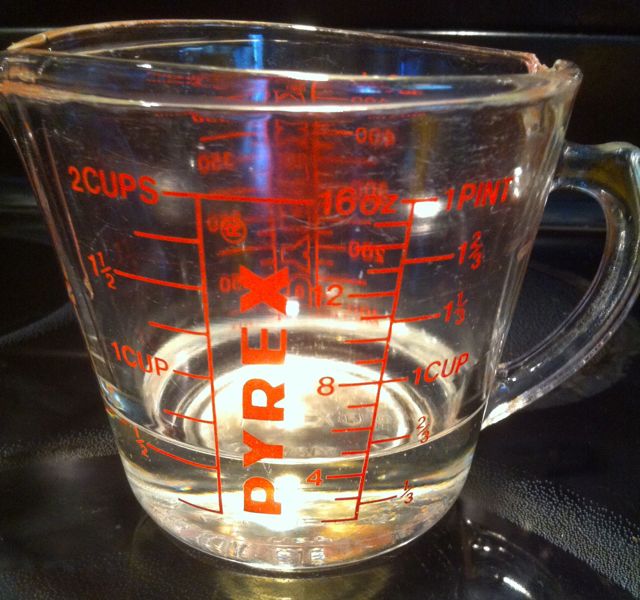
- liquid measuring cups
- dry measuring cups
- food processor
- sifter
- medium mesh strainer
- mixer
- spatula
- parchment paper
- cookie trays
- cooling racks
- pastry bag with a #8 tip (or if you are cheap and inventive like me.. a ziplock bag with a 1/2″ cut off the corner.)
- bowls
You’ll also need a template to slip under your parchment paper so you’ll know how big to make the macarons. (Here’s my fancy Easter colored template… feel free to print it out and use it.)

Macarons are best baked in a convection oven. But don’t despair you can still make them if your oven is of the conventional variety. Just take care with the timing.
INGREDIENTS:
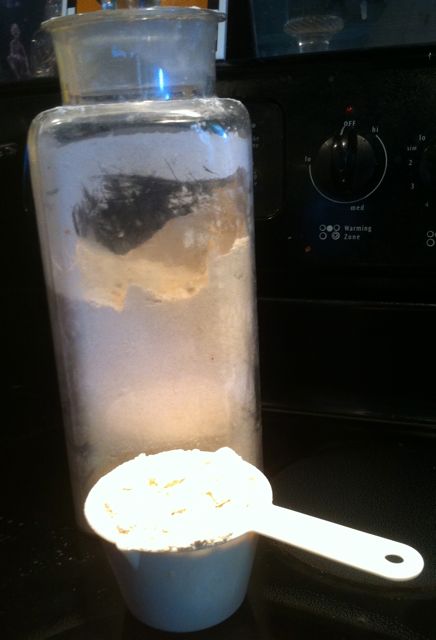
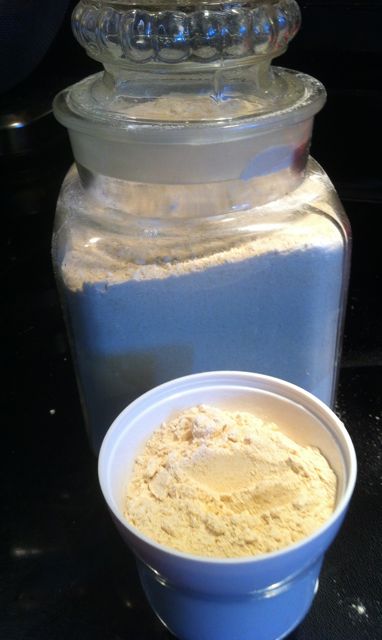
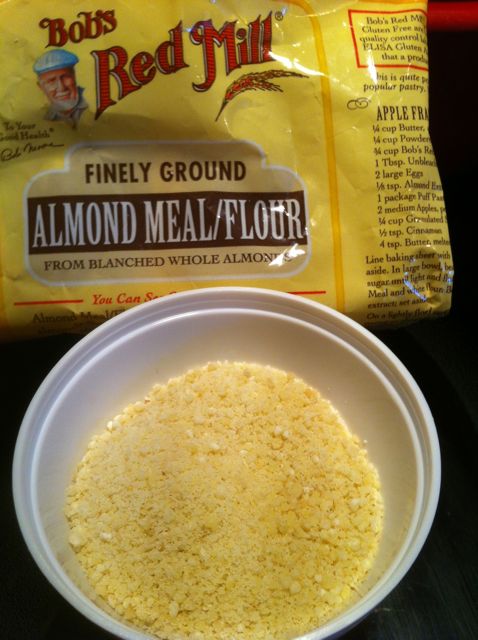
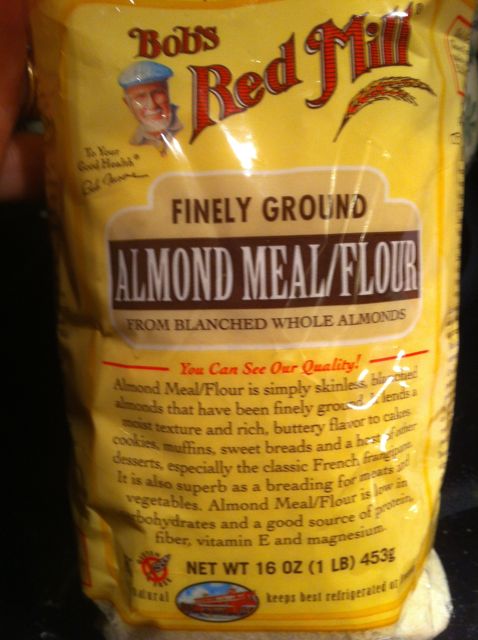
- 2 3/4 cups of almond flour
 (You can find it at higher end food stores — locally I found it at Wegmans — and cake supply shops)
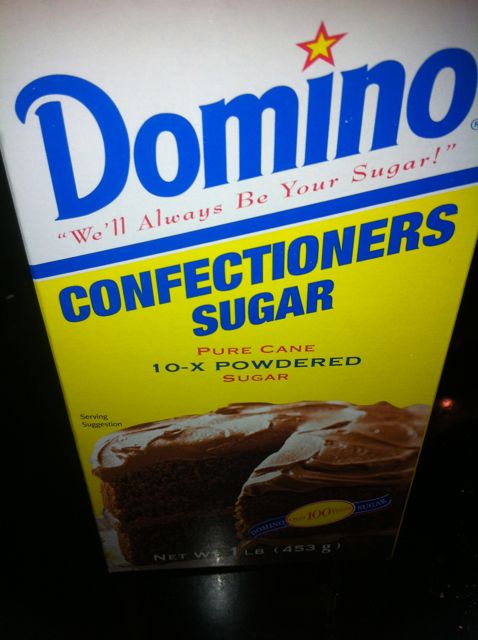
- 2 3/4 cups of powdered sugar
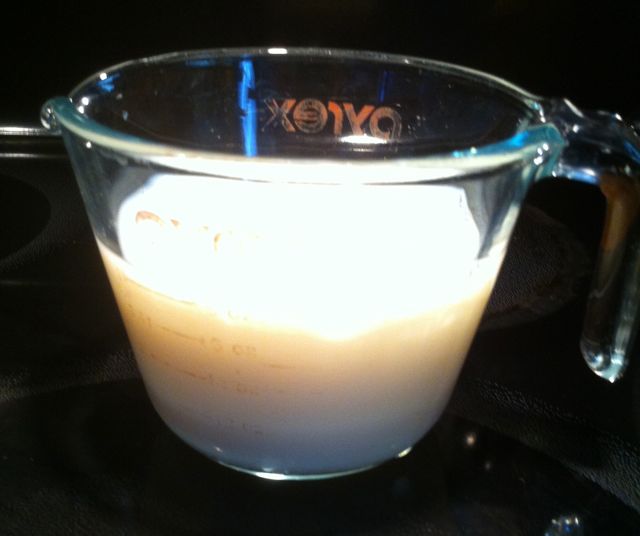
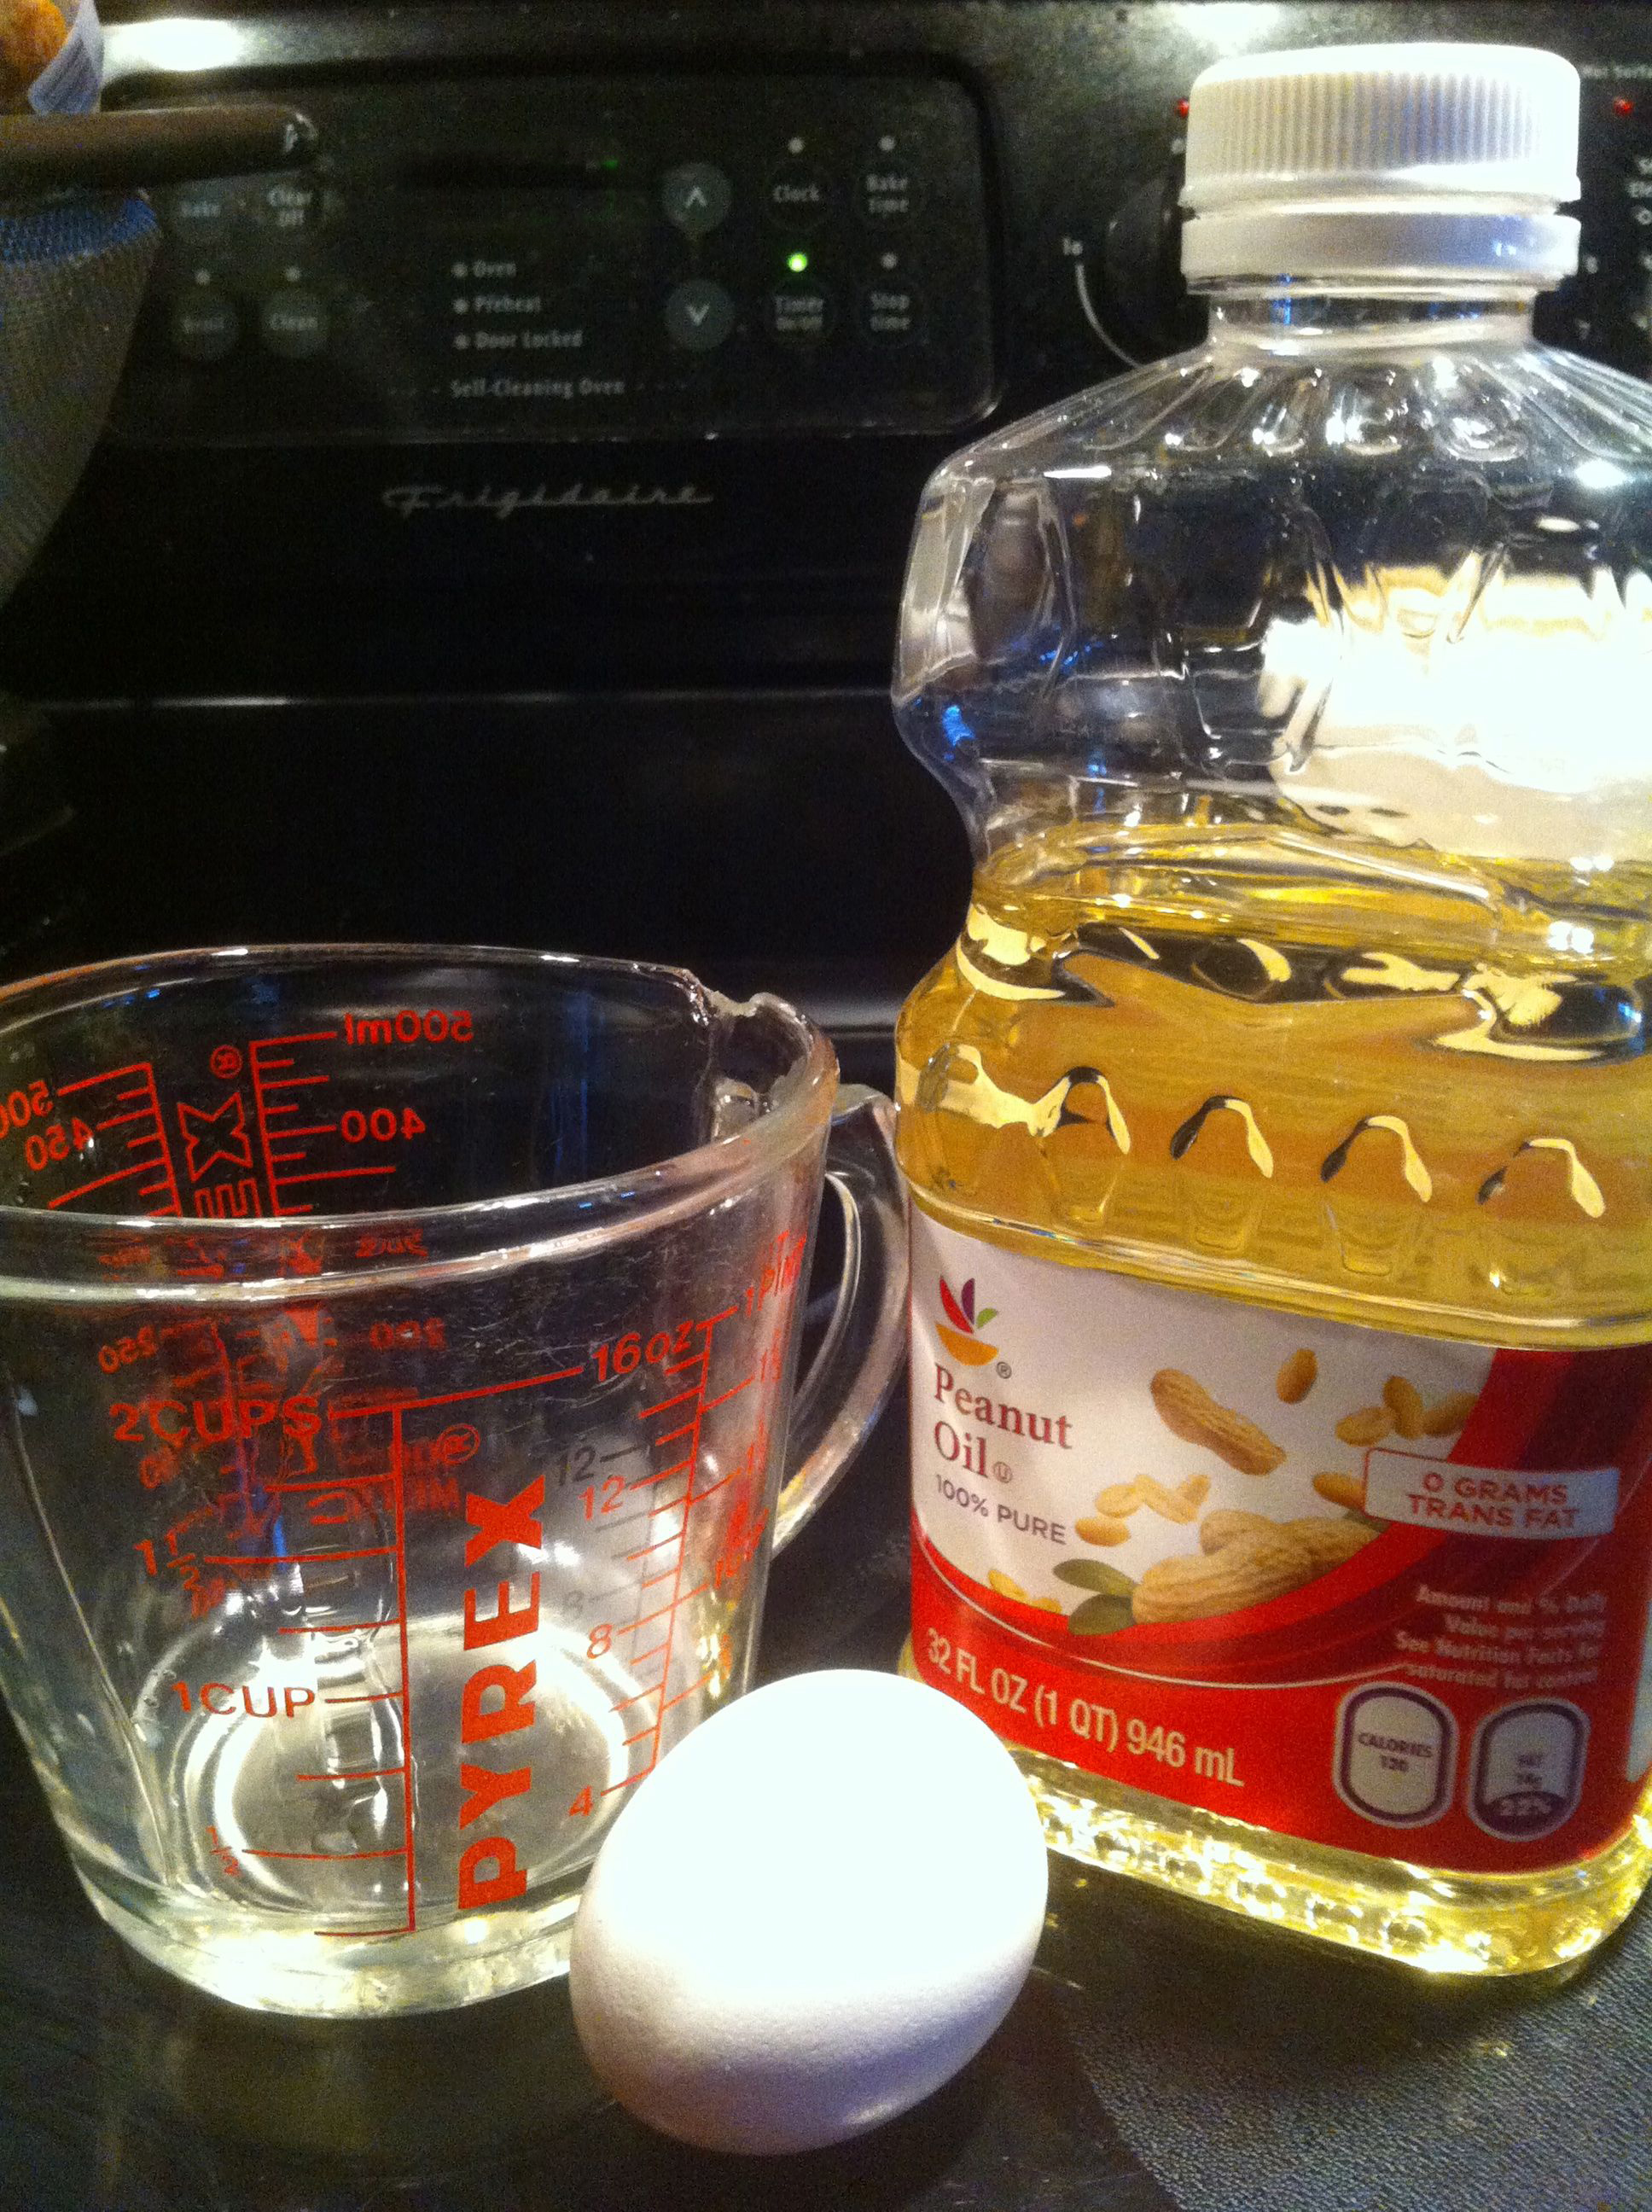
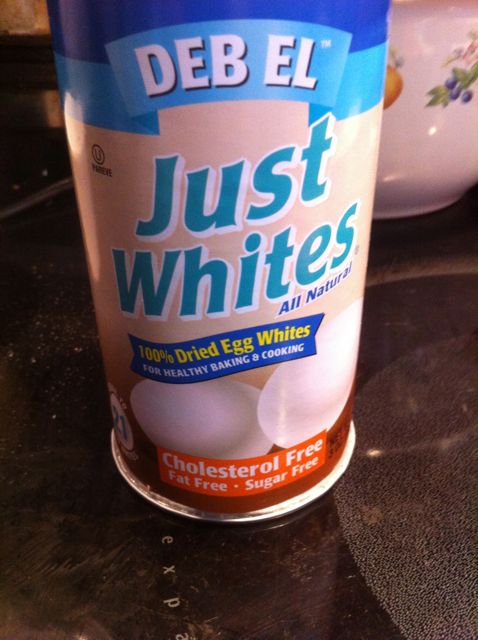
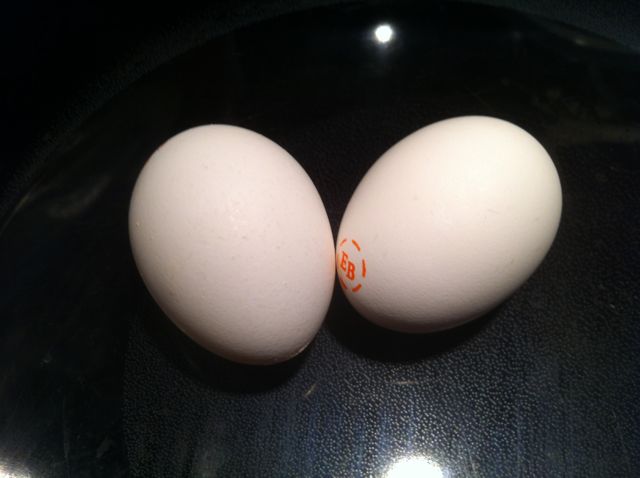
 1 cup of egg whites (it took 7 extra large eggs for me to get 1 cup of egg whites) room temperature


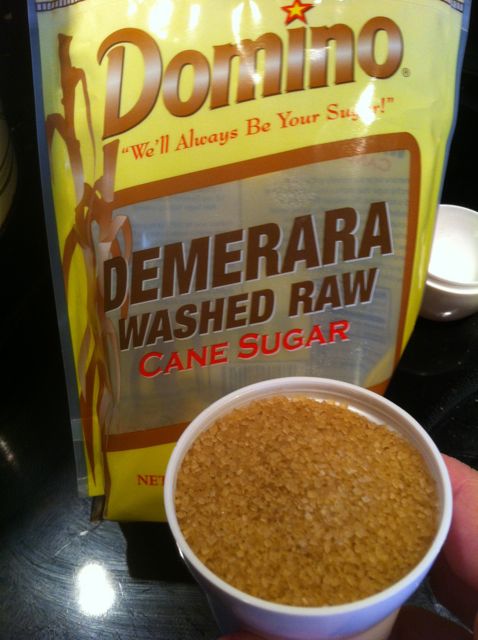
- 3/4 cups of granulated sugar (superfine granulated if you can find it.) [Confession: I used powdered sugar here, and I didn’t have any superfine granulated, and I thought it would be better than regular sugar… next time I’ll use real sugar.]
Additional ingredients:
You’ll also need the following for dusting the macarons and for the filling:
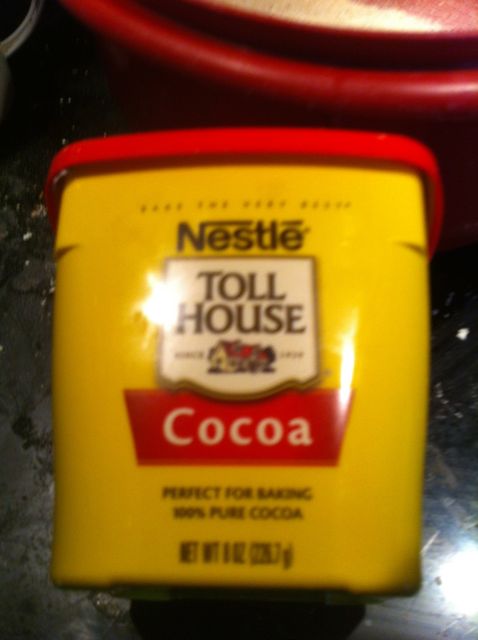
- 6 tablespoons cocoa powder
- 3 cups powdered sugar (additional)
- 1/2 cup butter, softened
- 3 tablespoons milk
- 1 teaspoon almond extract
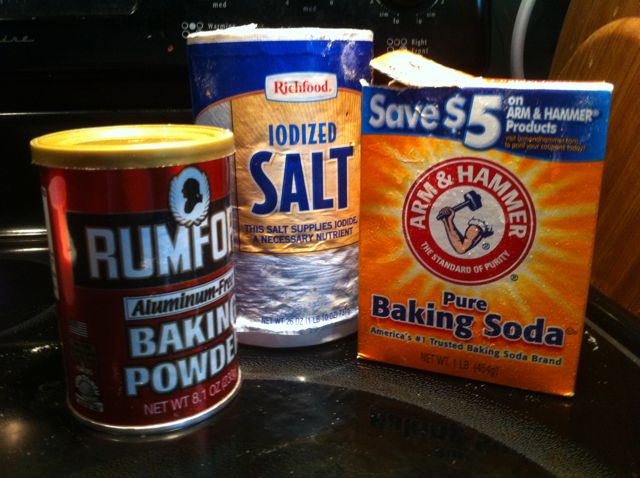
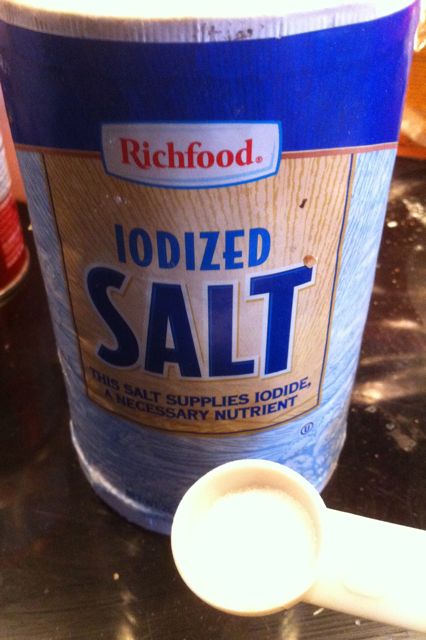
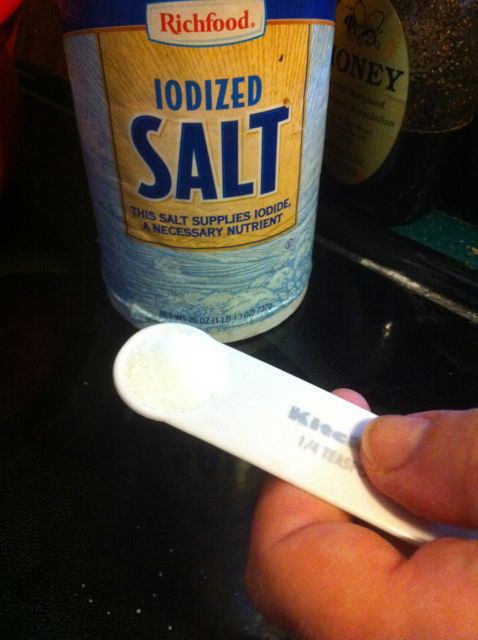
- 1/2 teaspoon salt (additional)
DIRECTIONS:
Step one: Prepare the cookie sheets. Put your template on the cookie sheet, then put the parchment paper on top. trim the parchment paper to fit the sheet. I made three copies of my template and taped them together, so there was extra paper at the end. That way I could easily pull it out from under the parchment paper once the macaron batter is piped on to it.
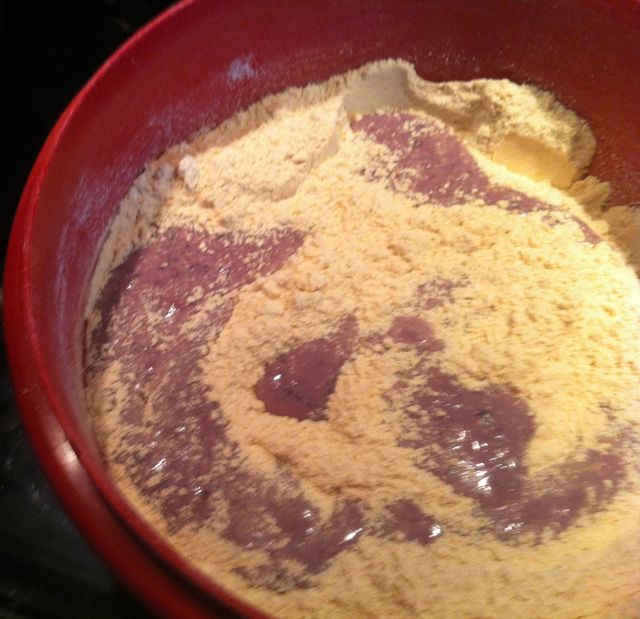
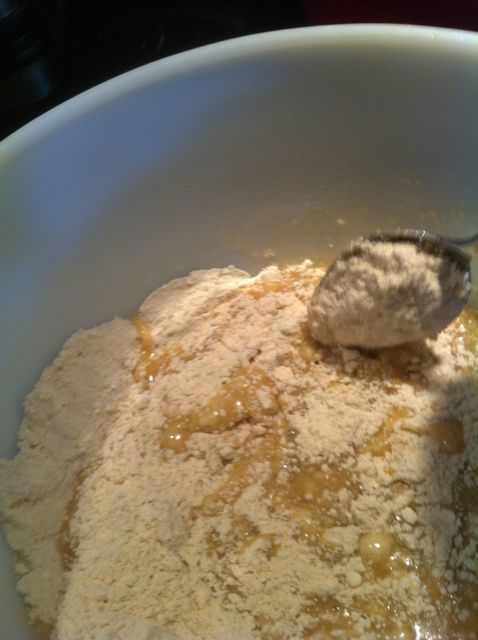
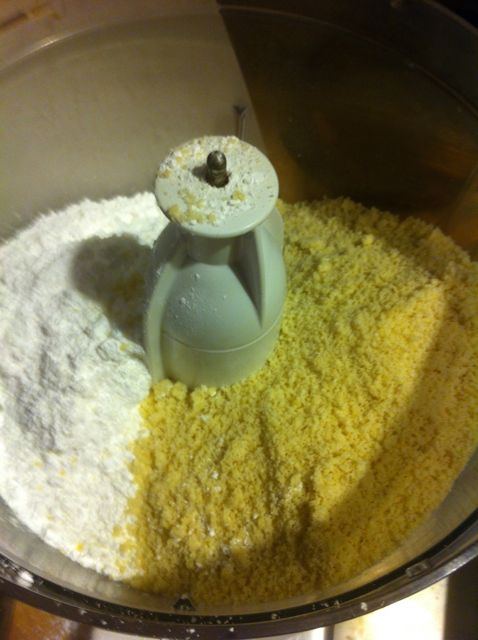
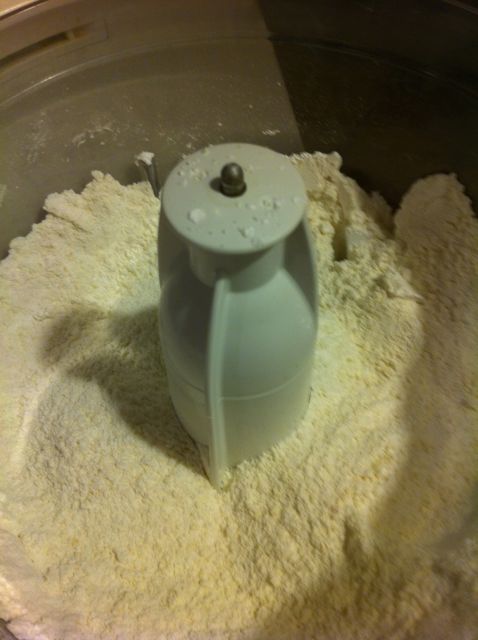
Step two: In a food processor combine the powdered sugar and the almond flour.
Process until it is a fine powder. Sift it into a medium bowl.

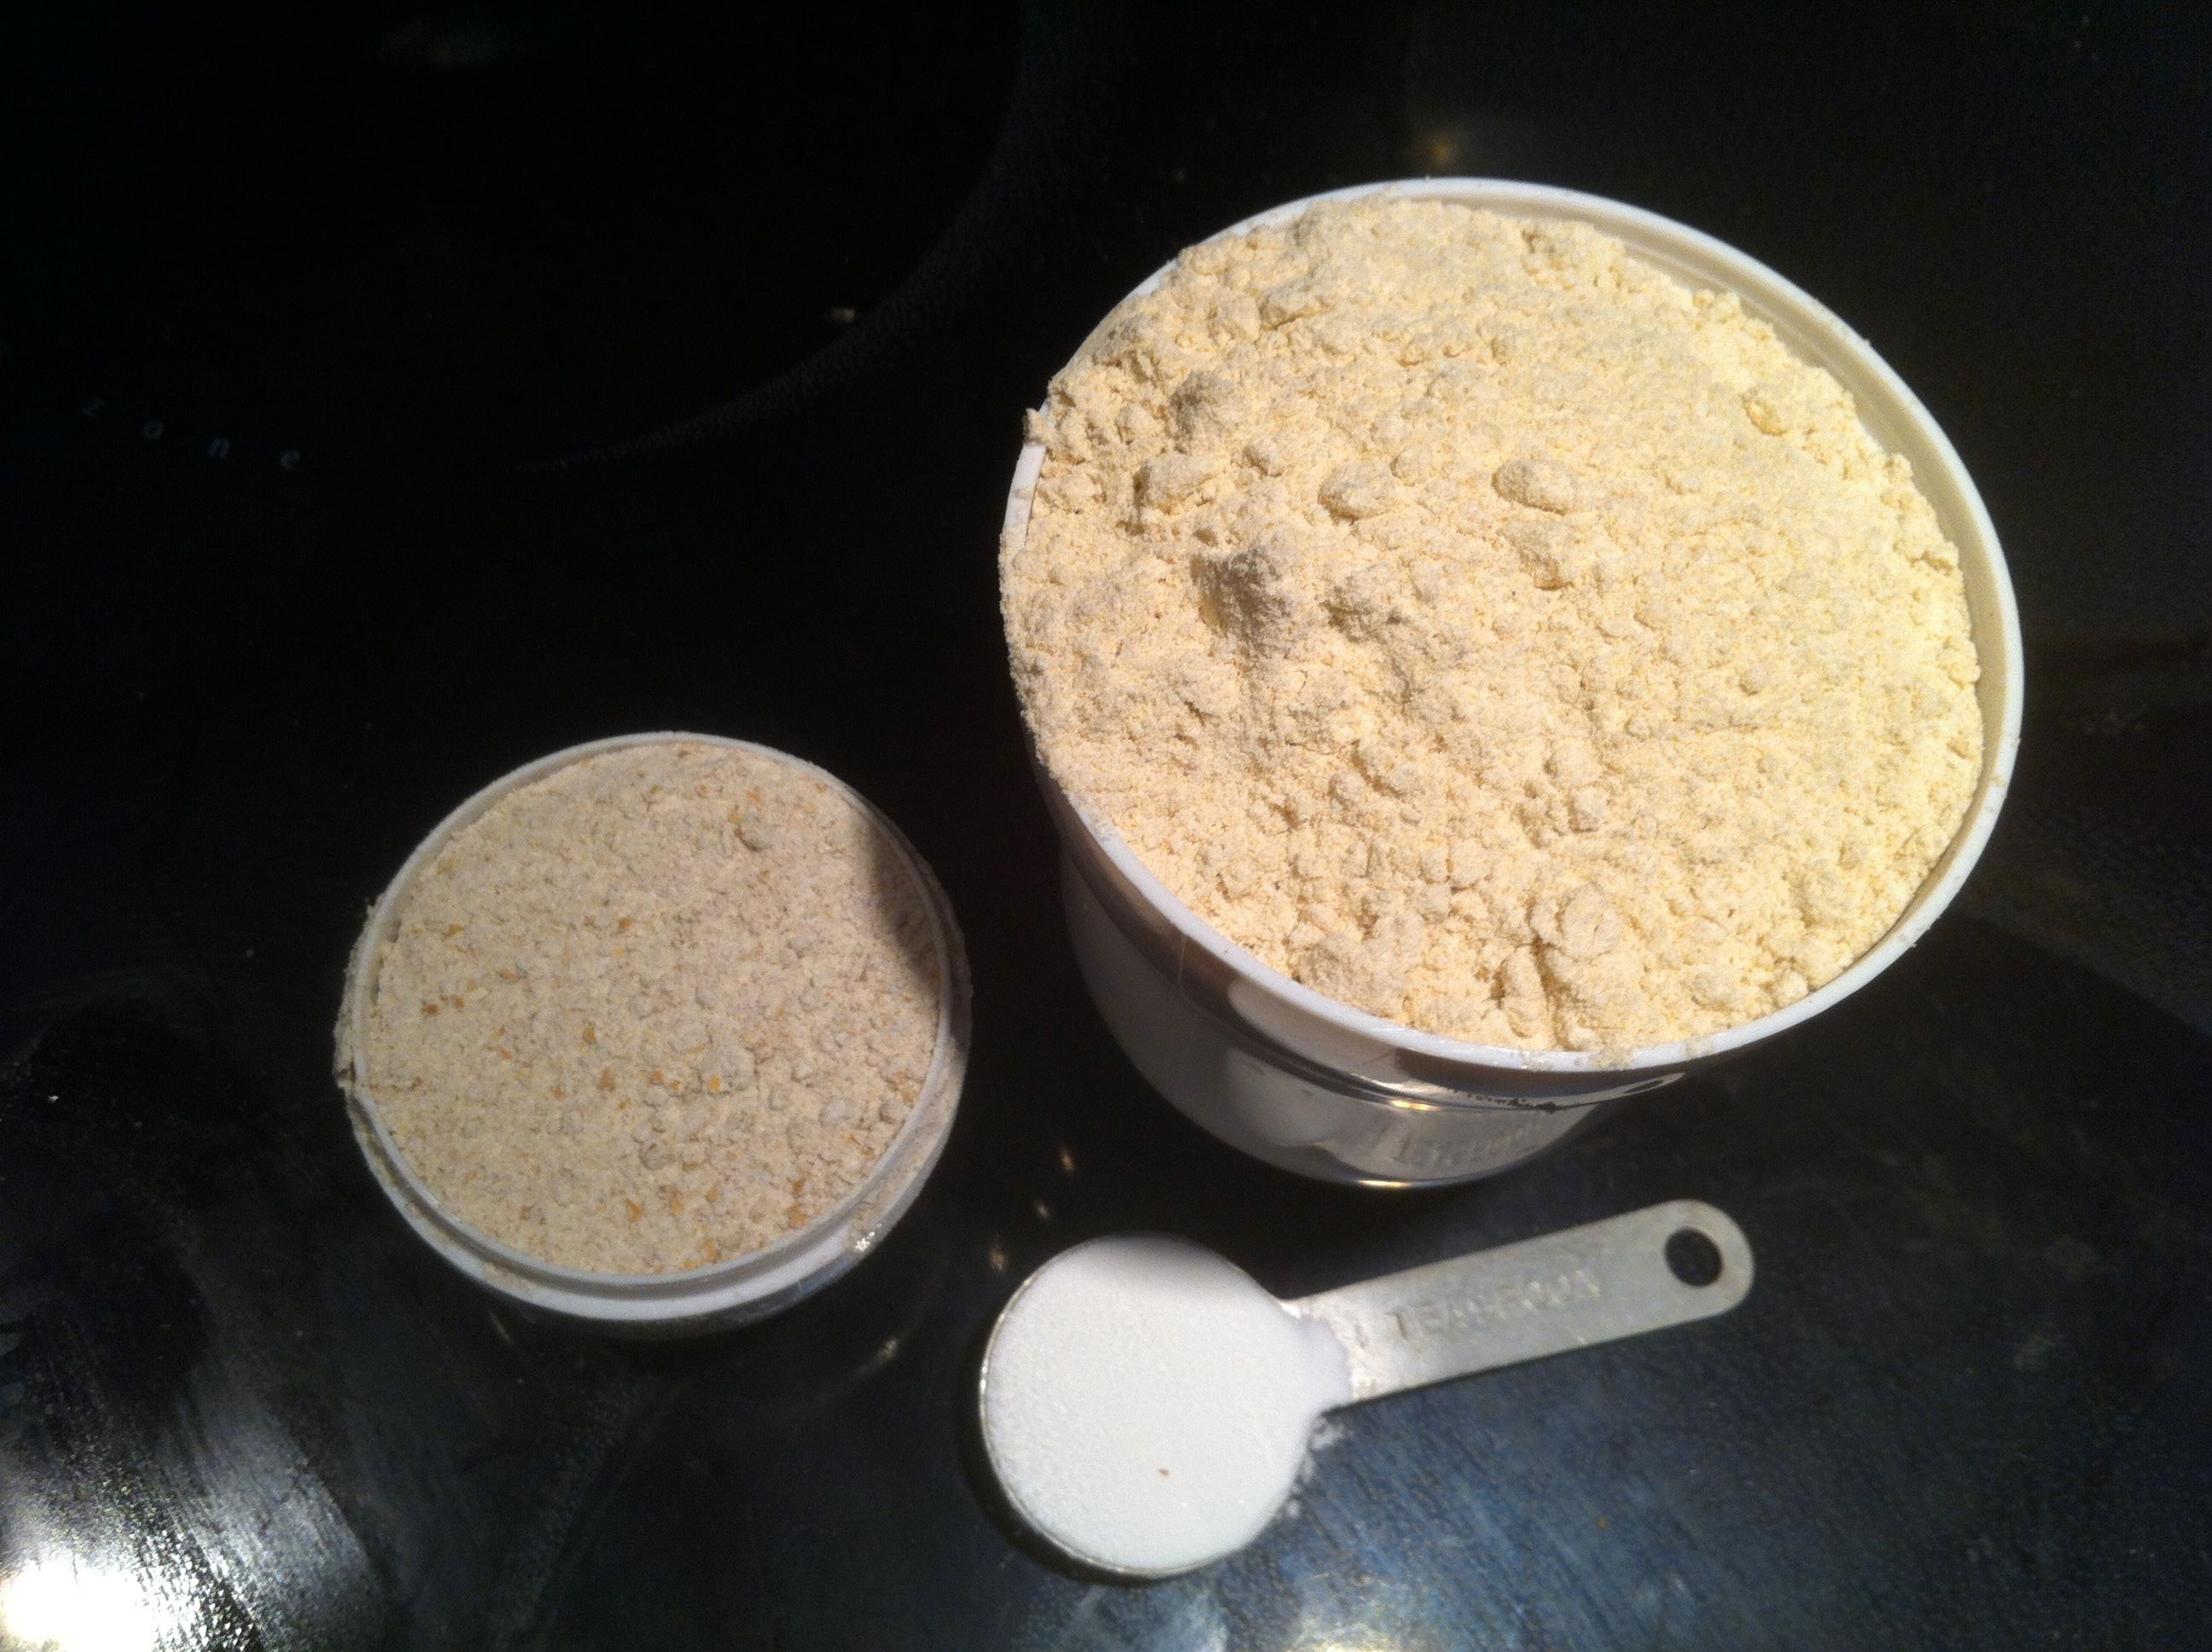
Powder sugar on the left; almond flour on the right, before being processed
Process until it is completely combined and is a fine powder.

This is what it looks like once the two ingredients are mixed together.
I processed it in short pulses for about a minute. (Long enough for the dog to start barking at the noise.)
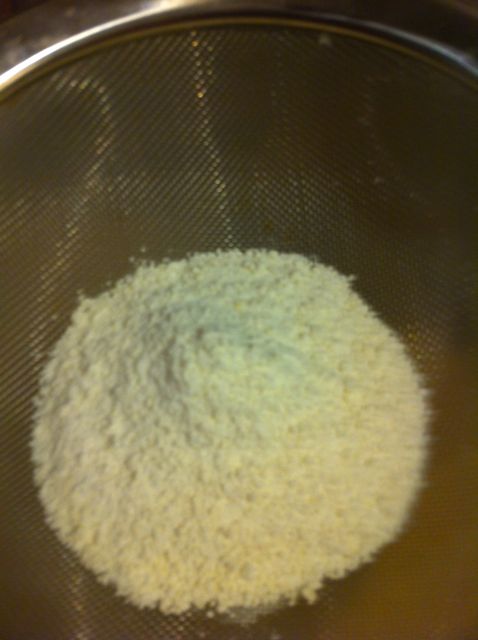
Using the sifter, sift it into a medium bowl.
Then sift it again through the mesh strainer into a large bowl.
 Your goal is to get the almond flour mixture as fine as possible. You may have some small “pebbles” of almond flour that don’t go through the strainer. If this happens sift additional almond flour and powder sugar to compensate. I had about 1/2 cup of almond flour pebbles (stuff that didn’t go through the mesh of the strainer) so I sifted an additional 1/4 of almond flour and 1/4 cup of powdered sugar to compensate. (Save the almond flour pebbles.)

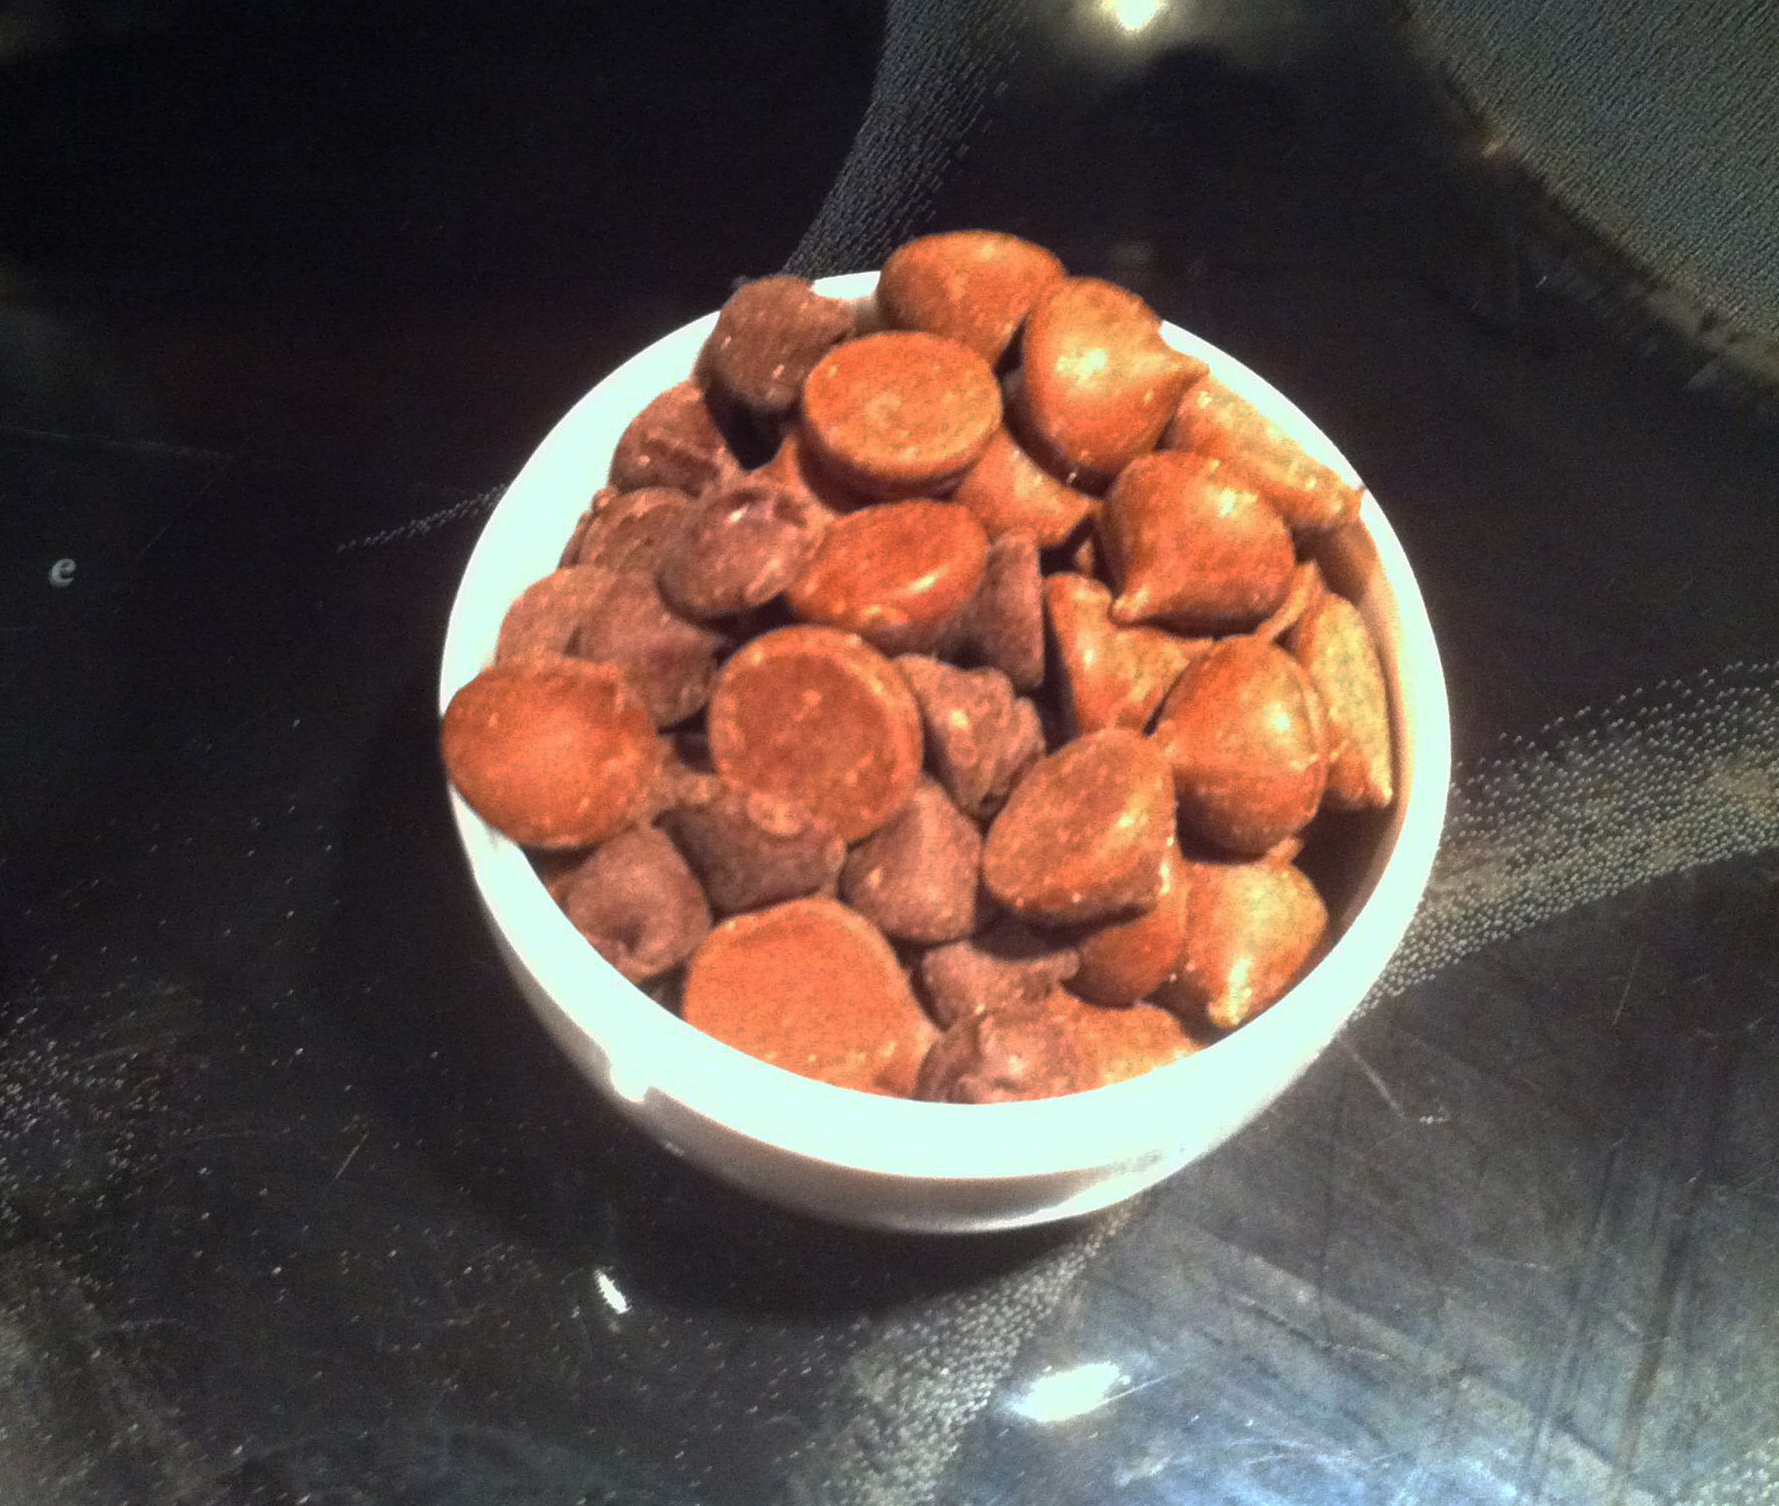
This is what the very small almond “pebbles” looked like. They are smaller than couscous, but large enough that we’d have lumpy macarons. (And no one likes lumpy macarons.)
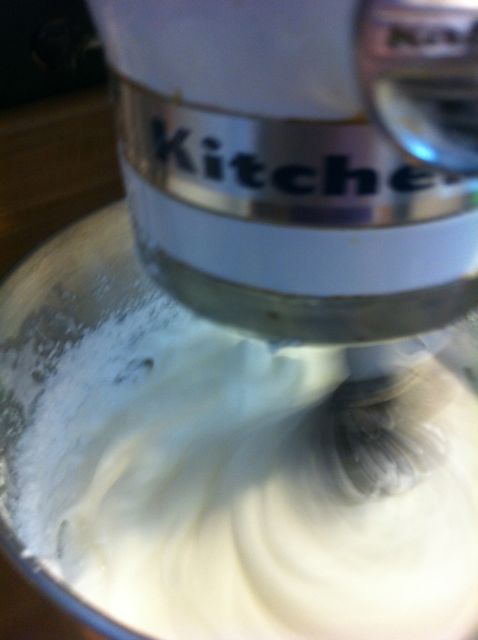
Step Three: With an electric mixer beat the egg whites and salt. Start slowly and gradually increase the speed.

About a minute into beating the egg whites and salt. Use the whisk attachment on you mixer.
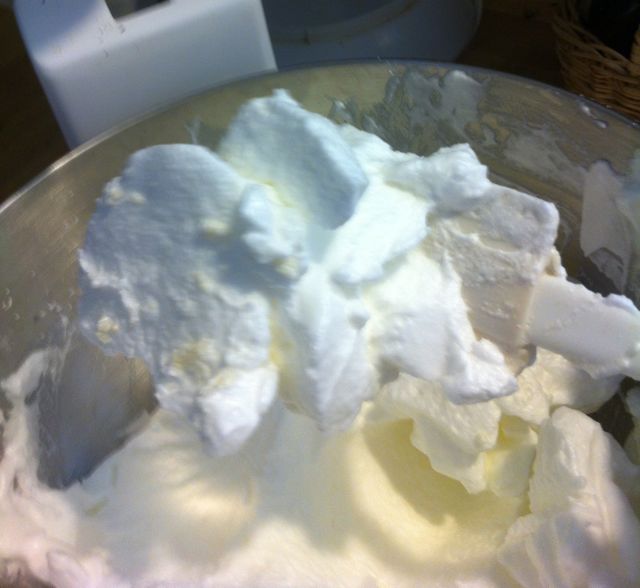
The whites will start to froth up and rise. Slowly add the granulated sugar and continue whipping until the mixture forms STIFF peaks and is firm and shiny.

It’s so FLUFFY! The egg whites, salt and powdered sugar made nice stiff peaks (if I’d used granulated sugar it would have been glossy and probably have worked even better. Duh!)
This takes a while, but patience is a virtue.
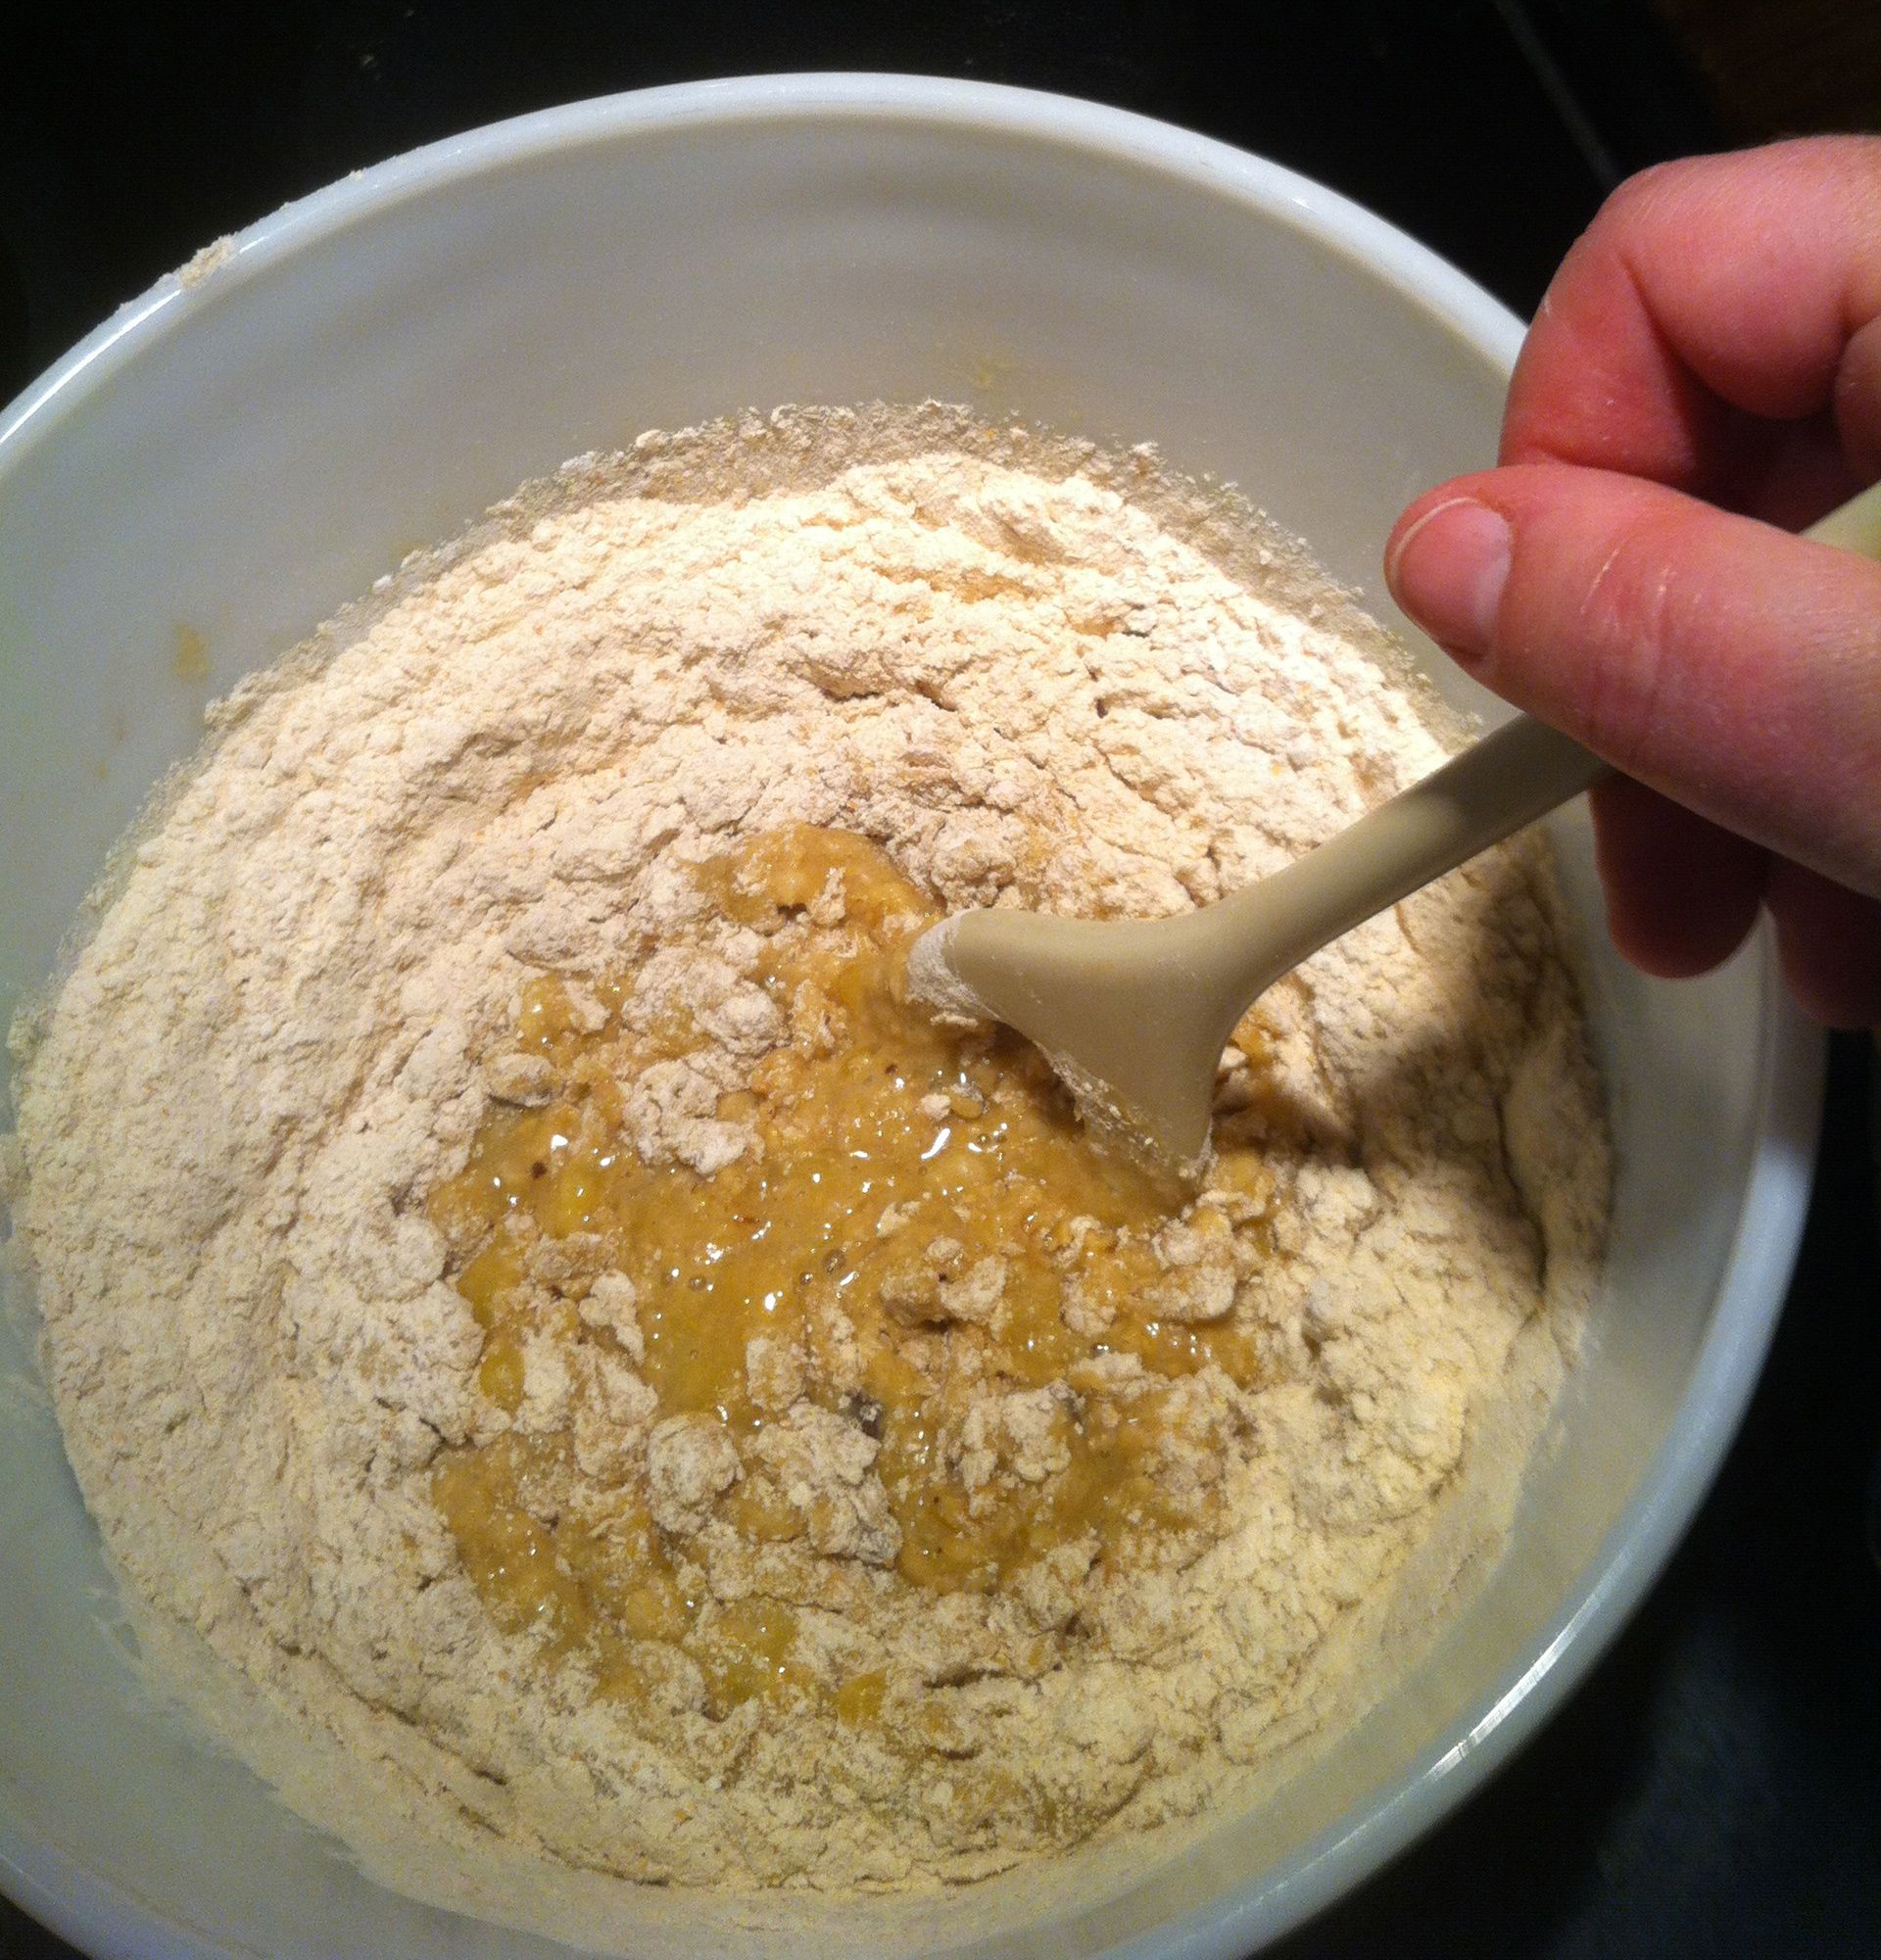
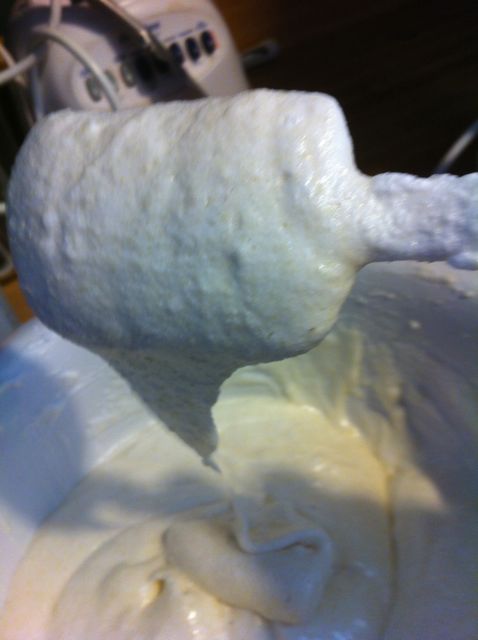
Step Four: Fold the egg white mixture into the dry mixture. Use a rubber spatula to gently mix the ingredients, scraping from the bottom of the bowl up.

Folding the egg white mixture into the dry mixture.
Don’t over mix, but be sure to get all the dry mixture incorporated into the egg white mixture.
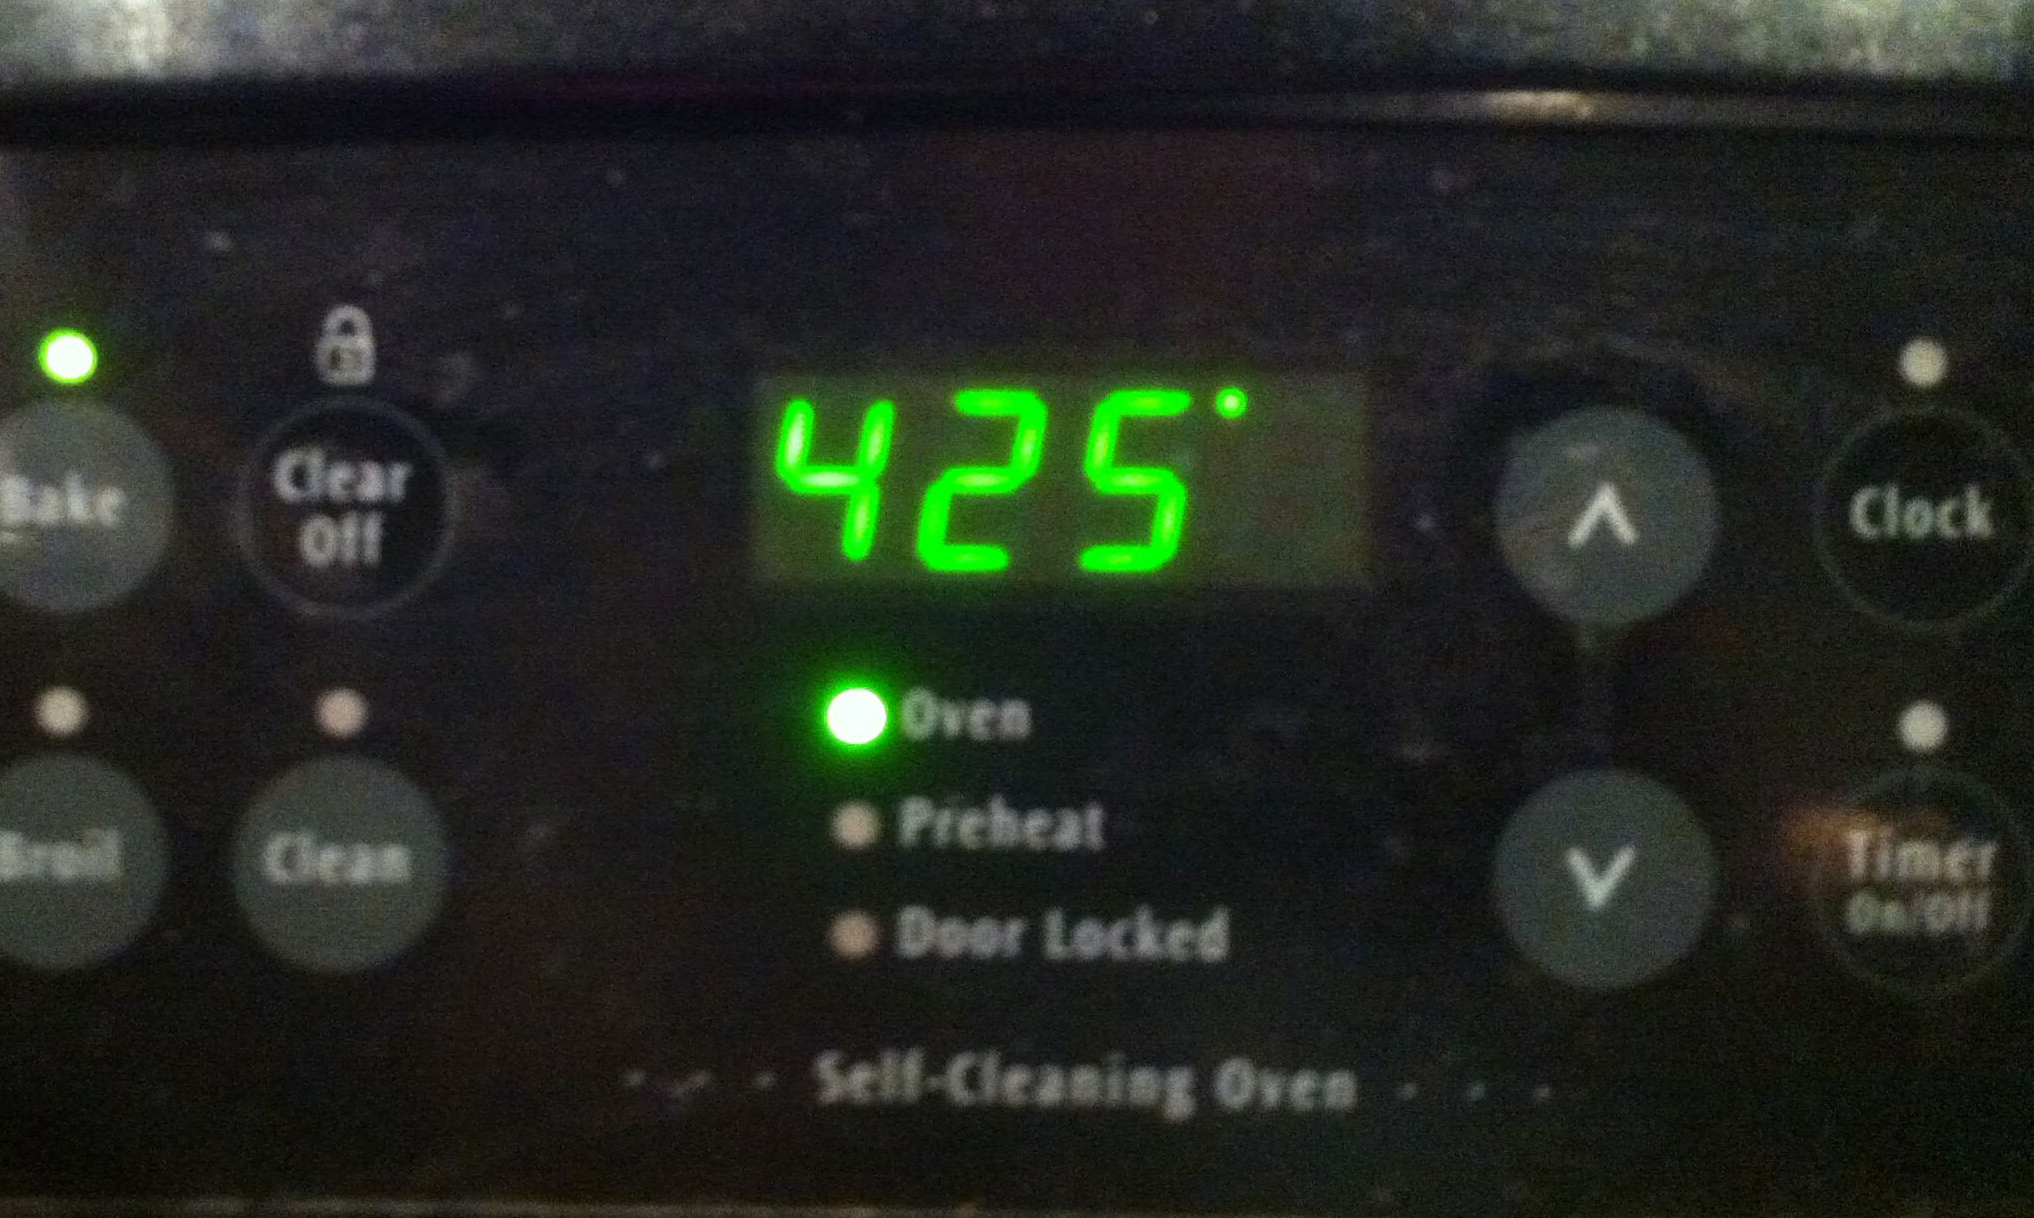
Step Five: Pre heat the oven to 300 degrees for a convection oven (325 degrees for a conventional oven)
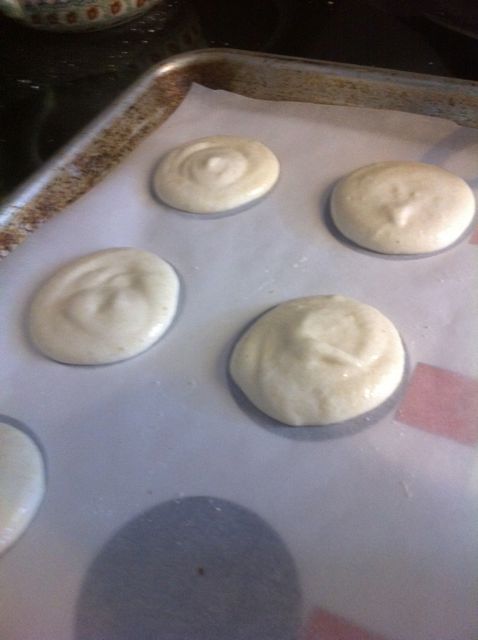
Step Six: Put 1/2 the batter into the pastry bag (or ziplock bag with the snipped corner — ZIP UP THE BAG). Hold the pastry bag vertically over the center of a template circle and gently squeeze until enough batter comes out to fill the diameter of the circle. Lift and gently twist. You aren’t trying to get a peak here, like you would for a meringue. Repeat until all the circles are filled. Carefully remove your template and do a second Tray.

First batch as I’m piping the batter onto the parchment. (You can see the template under the parchment paper. I slid that out before the cookies went into the oven.)
I don’t have a picture of me actually piping the batter on the cookie trays. Sorry I didn’t have enough hands to hold the bag and the camera.
Give the tray a gentle tap on your work surface to get rid of bubbles and smooth out the tops of the macarons.
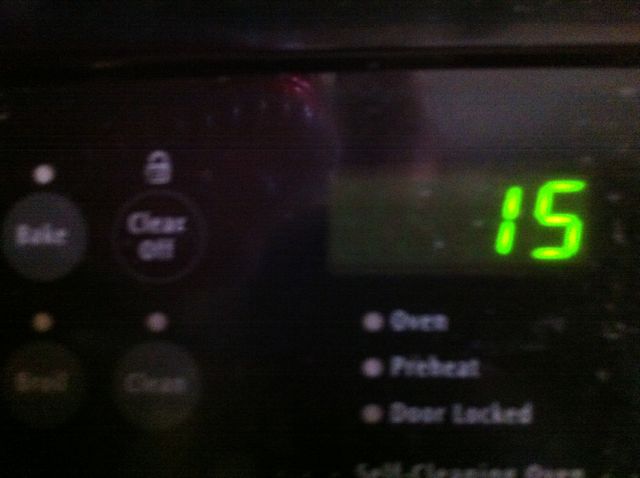
Step Seven: WAIT! I know its hard now that you can see the macarons actually taking shape, but you’ve got to wait 15 minutes before you put them in the oven. Waiting will give the macarons “legs” and will help you build character.

I KNOW you KNOW what a timer looks like. I’m putting this in to emphasis that you need to wait 15 minutes. Don’t forget… seriously.
Step Eight: Bake the macarons for 5 minutes. Open the oven door for 30 seconds — to let out steam– close the door and CONTINUE baking for another 10 minutes. Set up your cooling rack if you haven’t already done so. (HINT: make sure they are far out of reach of any cats or cockapoos.)
Step Nine: When the macarons have baked a total of 15 minutes take them out of the oven. CAREFULLY slide the parchment sheet off the cookie tin and onto the cooling rack and COOL completely.
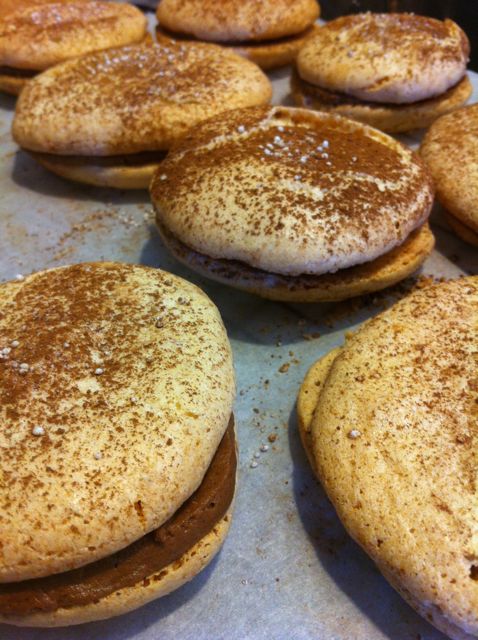
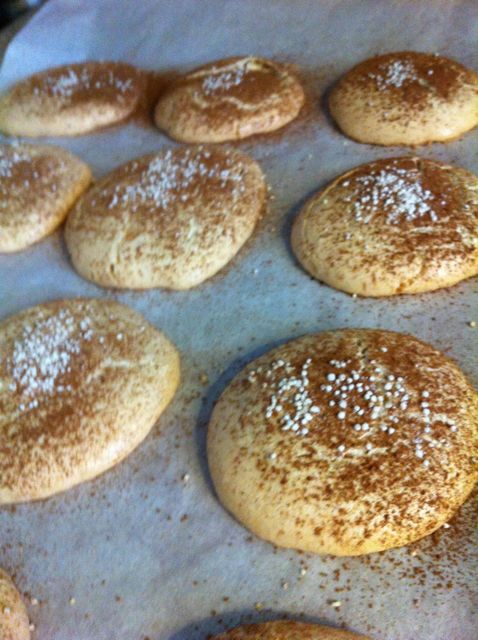
You can now repeat steps Six-Nine with the second half of the batter. I dusted my second batch with cocoa and some of the almond pebbles I reserved earlier.

Second batch ready to go into the oven.

Second batch — finished baking, ready to cool.
Step Ten: While you are waiting for the macarons to cool you can start to make the filling. Filling for macarons can be as simple as jam or as complex as ganache. I chose homemade Chocolate Almond Buttercream Frosting. (See the ingredient listed above. (After cleaning your mixing bowl and whisk attachment) combine all the ingredients in the mixer and blend until smooth. Put into a clean pastry bag (or another ziplock bag with the corner snipped out).
Pair the macarons so they are close in shape and size. Turn half the macarons upside down (so the flat side is up). Pipe the frosting onto the flat side of the macaron. Top with its mate and give a gentle quarter turn. Repeat with the rest of the macarons.

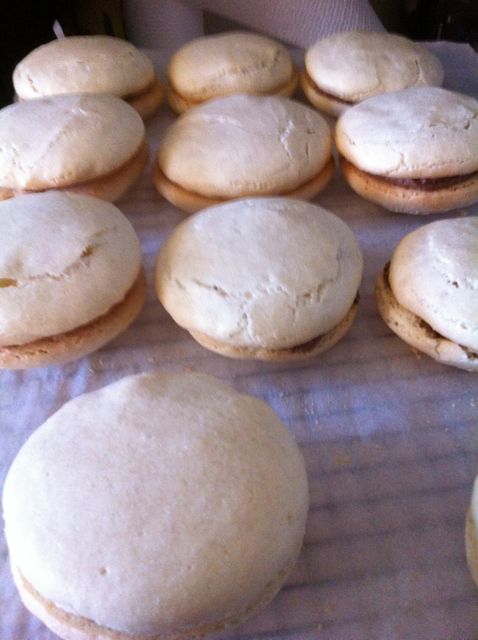
Assembled plain macaroons.
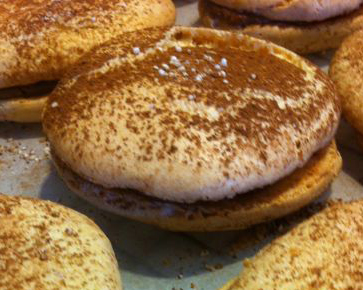
And…

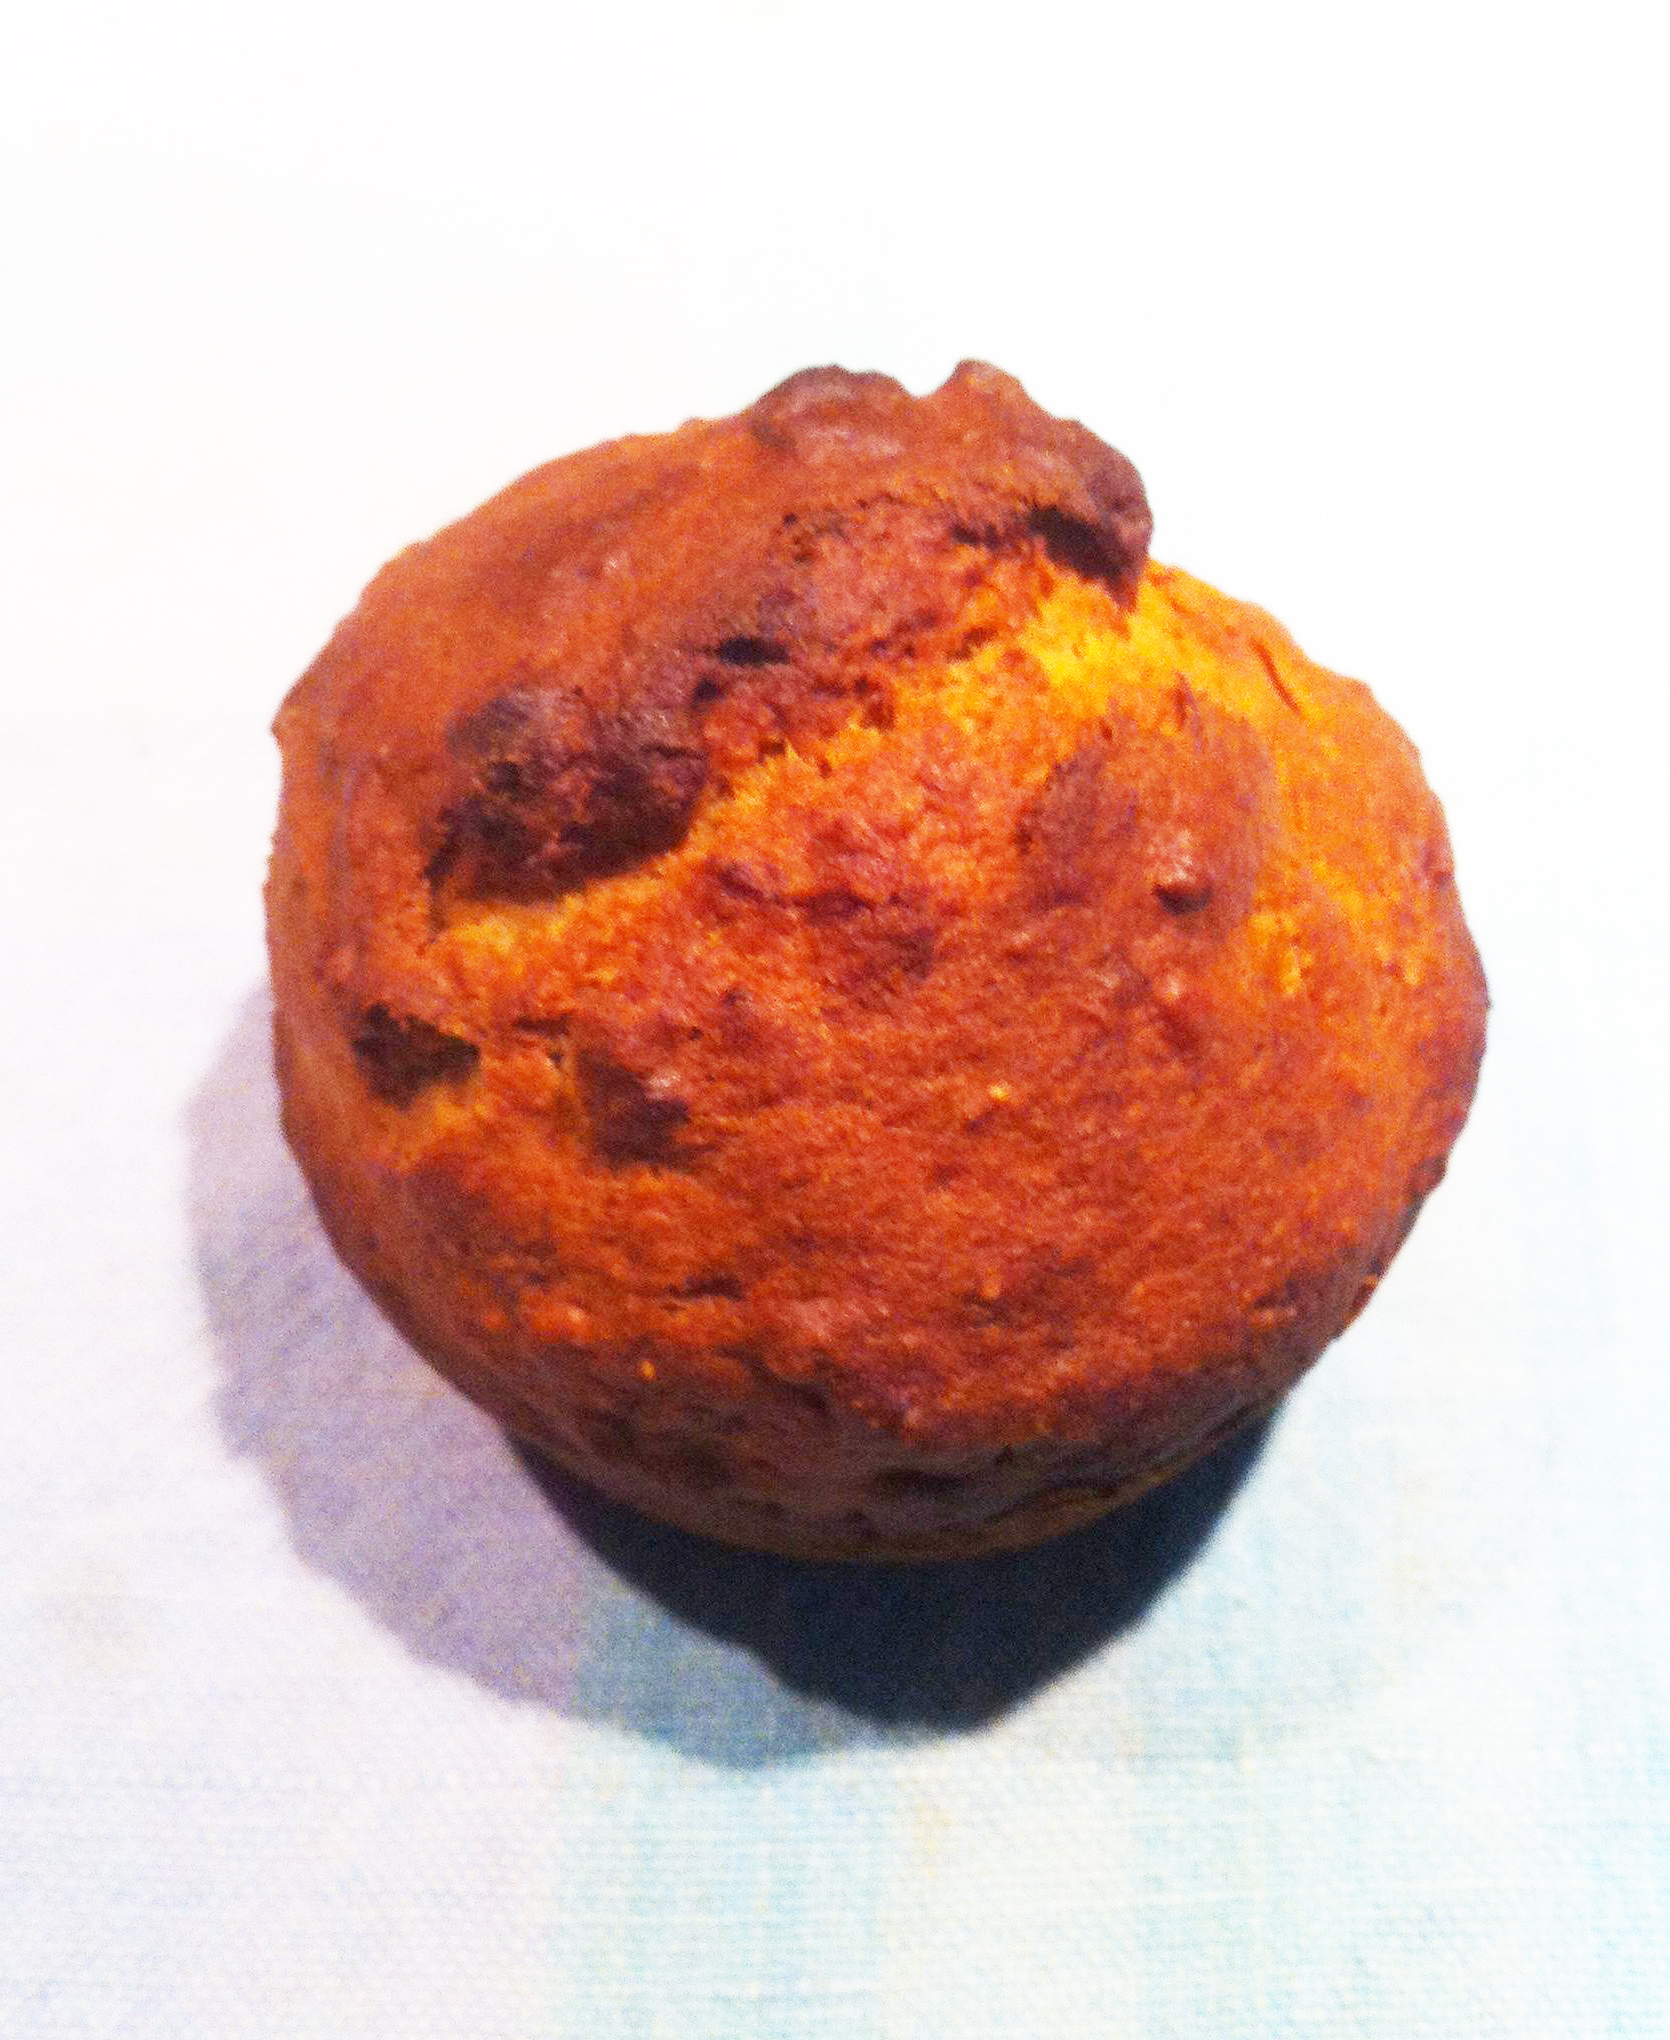
Finished Chocolate Almond macaron.
Results: I like to bake using a minimum of bowls and kitchen gadgets. I like simple (ish) recipes. I also like for the recipe to have at least a whiff of nutritional value. Macarons fit none of those baking preferences. These took lots of time, lots of money, and lots of effort to make. The recipe only yielded 2 dozen filled French macarons. But they are light as a feather and delightfully delicious. And all my tasters wanted to know when I would make the next batch, so I guess they were a hit.
They reminded Mary B of meringues, but better because of the filling. She “really enjoyed them.”
Mike R. commented that “The crunch of the initial sensation on the teeth is met soon after by the yielding into a second layer of heavenly sweetness just inside the delicate outer layers. As the palate then becomes aware of the fleshy interior of the “cookie”, it is surprised by the soft and flavorful filling (in this case chocolate buttercream). The trio soon starts to meld and melt together, though not completely, giving a variety of textures and tastes to explore. ” He’s tried store bought macarons and found them to be “overly-dried almost like delicate styrofoam. I’ve also tasted plain fresh macarons from bakeries in New York City, but none come close to freshly baked deliciousness of these cookie gems…..”
Jackie R gave them an A+, saying “they were delicious and had just enough ‘bite and chew’ to be substantial, yet sweet and light enough to make me wiggle my toes a little.”
———————————————-
I was inspired by Cecile Cannone’s Macarons: Authentic French Cookie Recipes from the Macaron Cafe. It is a well written, well illustrated little book that will get you on your way to proper macaroning.